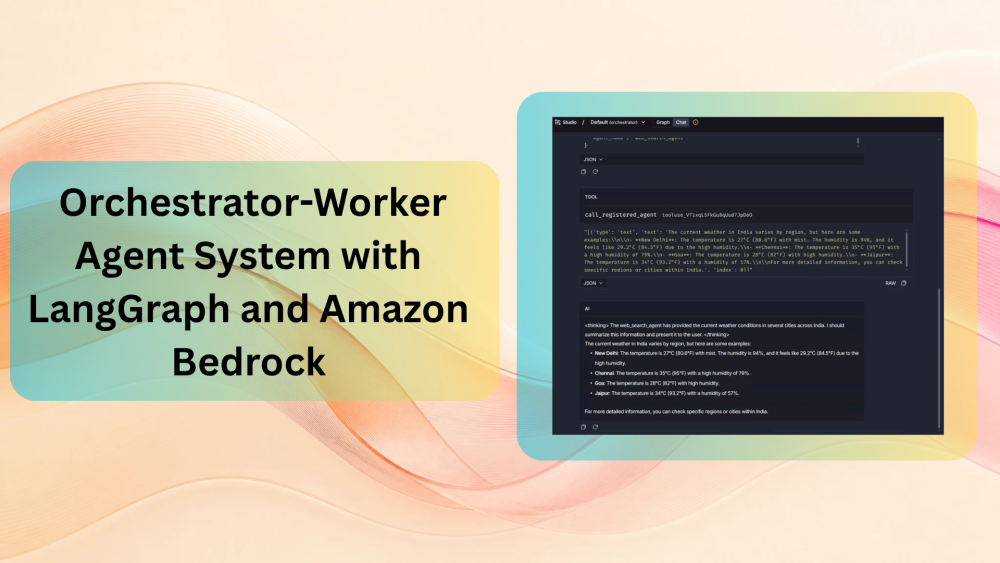
LangGraph provides a structured way to create and manage LLM agents. Its broader ecosystem provides capabilities for connecting agents with tools, testing them, tracing executions, and deploying them to production. One of the useful aspects of LangGraph is that individual graphs can be composed into larger agentic systems, making it possible to build multi-agent architectures from independently testable components. To check the above features, in this article, we will be building an orchestrator-worker agent system with LangGraph and Amazon Bedrock.
What will we cover in this article?
This article will primarily focus on creating a multi-agent system, where we have one orchestrator agent for delegating tasks and one worker agent with access to certain tools. Along the way, we will eventually discover how task delegation happens, how tool calls are made, and how the orchestrator agent aggregates the final answer.
- Setting up the LangGraph environment and workflow.
- Creating our multi-agent system consisting of an orchestrator and a worker.
- Testing out the orchestrator-worker agent system with certain Amazon Bedrock models in the LangGraph Studio environment.
The basic workflow in our agent process looks like the following:
                         User
                           │
                           ▼
                    Orchestrator
                           │
                  decides to delegate
                           │
                           ▼
                call_registered_agent
                           │
                           ▼
                    Web Search Agent
                           │
                    ┌──────┴──────┐
                    ▼             ▼
                 Research     Search Tool
                    ▲             │
                    └─────────────┘
                           │
                           ▼
                     Worker result
                           │
                           ▼
                     Orchestrator
                           │
                           ▼
                      Final answer
Let’s jump into the technical components of the article now.
Project Directory Structure
The following is the directory structure we are following for the project.
├── src
│   ├── orchestrator
│   │   ├── graph.py
│   │   └── __init__.py
│   └── web_search
│       ├── graph.py
│       └── __init__.py
├── static
│   └── studio_ui.png
├── tests
│   ├── integration_tests
│   │   ├── __init__.py
│   │   └── test_graph.py
│   ├── unit_tests
│   │   ├── __init__.py
│   │   ├── test_agent_registry.py
│   │   └── test_configuration.py
│   └── conftest.py
├── langgraph.json
├── LICENSE
├── Makefile
├── pyproject.toml
├── README.md
└── uv.lock
The initial template for this LangGraph project was created using the langgraph new command. We have made certain modifications according to the project.
- The
srcdirectory contains the implementation of our agents. Each subdirectory contains the logic/code for a specific agent. We can see that right now we have two agents. - The
langgraph.jsonfile is where we register the graphs that we want to expose through LangGraph.
We will get to see all the details further in the article.
The entire codebase is available for download as a zip file. You can extract it and follow along with the article.
Download Code
Setting Up Dependencies
We primarily need to set up the following dependencies and credentials:
- LangGraph
- LangChain
- AWS credentials
- Tavily API key
You can refer to the previous article where we built a stateful LangGraph agent using Amazon Bedrock to complete the setup till the AWS credentials. In the previous article, we also showed how to set up a new LangGraph project using the langgraph new command. However, in this one, we do not need that strictly as the entire codebase is available for download. You just need to extract it and add your .env file with the specific credentials. However, if you want to complete each step on your own and copy/paste the code after creating your own project, please feel free to do so.
After completing the above steps, one additional component is adding the Tavily API key to your .env file. You can create a new Tavily account if you do not have one. It provides 1000 free API calls each month which makes it easy to test our web searches. The following code block shows all the credentials we need in the .env file.
LANGSMITH_API_KEY=lsv2_...
LANGSMITH_ENDPOINT=https://aws.api.smith.langchain.com
TAVILY_API_KEY=tvly...
This is all the setup that we need. We are all set to explore the codebase now.
Codebase for Orchestrator-Worker Agent using LanGraph
Let’s jump into the codebase now. Most of our focus will go into the agent code in the src directory. We will cover the agent implementation bottom-up. First, we will cover the web search agent (worker agent) and then the orchestrator agent. This allows us to see the worker agent code independently before the orchestrator delegates the tasks.
Worker Agent with LangGraph and Bedrock Models
The code for the worker agent lives in the graph.py file in the src/worker directory. The following code block shows the entire code.
import json
import os
from dataclasses import dataclass, field
from typing import Annotated, Any, Dict

from langchain_aws import ChatBedrockConverse
from langchain_core.messages import BaseMessage
from langchain_core.tools import tool
from langchain_tavily import TavilySearch
from langgraph.graph import END, StateGraph
from langgraph.graph.message import add_messages
from langgraph.prebuilt import ToolNode
from langgraph.runtime import Runtime
from typing_extensions import TypedDict


class Context(TypedDict):
    """Context parameters for the agent."""

    my_configurable_param: str


@dataclass
class State:
    """State schema with a message history reducer."""

    messages: Annotated[list[BaseMessage], add_messages] = field(default_factory=list)


@tool
def web_search(query: str) -> str:
    """Search the web using Tavily for current information and recent facts."""
    if not os.getenv("TAVILY_API_KEY"):
        return "TAVILY_API_KEY is not set. Add it to your .env file before using the web research worker."

    search = TavilySearch(max_results=5)
    result = search.invoke({"query": query})
    return json.dumps(result, ensure_ascii=False)


def decide_next_step(state: State) -> str:
    """Keep the worker in a tool loop until the model has finished reasoning."""
    last_message = state.messages[-1]
    if getattr(last_message, "tool_calls", None):
        return "search_tool"
    return END


async def research(state: State, runtime: Runtime[Context]) -> Dict[str, Any]:
    """Let the model decide whether it needs fresh internet information before answering."""
    model = ChatBedrockConverse(model="amazon.nova-pro-v1:0").bind_tools([web_search])
    response = await model.ainvoke(state.messages)
    return {"messages": [response]}


graph = (
    StateGraph(State, context_schema=Context)
    .add_node("research", research)
    .add_node("search_tool", ToolNode([web_search]))
    .add_edge("__start__", "research")
    .add_conditional_edges("research", decide_next_step, {"search_tool": "search_tool", END: END})
    .add_edge("search_tool", "research")
    .compile(name="research_worker")
)
We have discussed a few of the above concepts in the previous article as well. Going through that will provide a good overview. Here, we will focus on the ones that are important for this particular use case.
Memory State
State defines the memory that flows through the graph. Here, the messages list contains the entire chat history as the conversation keeps on happening. Furthermore, after each user or assistant turn, the add_messages reducer keeps on adding the latest message to the list.
The Web Search Tool
We have defined the web_search with the @tool decorator. One important distinction here is that defining the tool does not gurantee invocation by the agent. We will have to add a tool node as we will see further.
Conditional Node
The decide_next_step acts as a conditional node. This essentially lets the agent decide whether it should keep on calling the tool in a loop or end the search and return the current result.
Execution Initiation
The initiation of the flow in the graph happens from the research node. Observe that we are binding the web_search node as a tool to the model. Without this, the model will never know which tools it has access to. It is a list where we can pass multiple tools.
The State Graph
Finally, we have the state graph. In short, we have added two functions (two nodes). The edges connect the research node to the tool calling node. Alternatively, we can think of the flow via the following flow diagram.
             ┌──────────────┐
             │   research   │
             │     LLM      │
             └──────┬───────┘
                    │
              tool call?
               /         \
             yes          no
              │            │
              ▼            ▼
        search_tool       END
              │
              ▼
          research
This is the entire workflow of the web search worker agent.
Orchestrator Agent with LangGraph and Bedrock Models
The code for the orchestrator agent lives in the graph.py file in the src/orchestrator directory. It is responsible for routing tasks to the worker agent when it sees fit. There are a few questions that might pop into our mind when thinking about the entire workflow. Firstly, how does the orchestrator know which worker agent it has access to? Secondly, how does the worker agent call happen?
We will answer the above questions in a bit, but first, let’s take a look at the codebase.
from dataclasses import dataclass, field
from typing import Annotated, Any, Dict

from langchain_aws import ChatBedrockConverse
from langchain_core.messages import BaseMessage, HumanMessage, SystemMessage
from langchain_core.tools import tool
from langgraph.graph import END, StateGraph
from langgraph.graph.message import add_messages
from langgraph.prebuilt import ToolNode
from langgraph.runtime import Runtime
from typing_extensions import TypedDict

from src.web_search.graph import graph as web_search_graph


AGENT_REGISTRY: dict[str, dict[str, str]] = {
    "web_search_agent": {
        "name": "web_search_agent",
        "description": (
            "Uses Tavily web search to research current facts, documentation, and external context "
            "for user questions that require internet access."
        ),
        "graph": web_search_graph
    }
}

# Create a global agent description with all worker agents.
agent_descriptions = "\n".join(
    f"- {agent['name']}: {agent['description']}"
    for agent in AGENT_REGISTRY.values()
)

system_prompt = f"""
You are an orchestrator agent.

You can delegate tasks to the following agents:

{agent_descriptions}

Only delegate to agents listed above.
Do not invent agent names.

If the available agents cannot handle the task, answer directly.
"""


class Context(TypedDict):
    """Context parameters for the agent."""

    my_configurable_param: str


@dataclass
class State:
    """State schema with a message history reducer."""

    messages: Annotated[list[BaseMessage], add_messages] = field(default_factory=list)


@tool
async def call_registered_agent(agent_name: str, task: str) -> str:
    """Invoke a sibling agent that is registered in the local agent registry."""

    agent = AGENT_REGISTRY.get(agent_name)

    if agent is None:
        raise ValueError(
            f"Unknown agent: {agent_name}. "
            f"Available agents: {sorted(AGENT_REGISTRY)}"
        )

    result = await agent["graph"].ainvoke(
        {"messages": [HumanMessage(content=f"Task for {agent_name}: {task}")]}
    )
    return str(result["messages"][-1].content)


def decide_next_step(state: State) -> str:
    """Route to the worker tool when the model asks to call a registered agent."""
    last_message = state.messages[-1]
    if getattr(last_message, "tool_calls", None):
        return "call_agent_tool"
    return END


async def orchestrate(state: State, runtime: Runtime[Context]) -> Dict[str, Any]:
    """The orchestrator decides whether the task should be delegated to a worker."""
    model = ChatBedrockConverse(model="amazon.nova-pro-v1:0").bind_tools([call_registered_agent])
    response = await model.ainvoke(
        [SystemMessage(content=system_prompt)] + state.messages
    )
    return {"messages": [response]}


graph = (
    StateGraph(State, context_schema=Context)
    .add_node("orchestrator", orchestrate)
    .add_node("call_agent_tool", ToolNode([call_registered_agent]))
    .add_edge("__start__", "orchestrator")
    .add_conditional_edges("orchestrator", decide_next_step, {"call_agent_tool": "call_agent_tool", END: END})
    .add_edge("call_agent_tool", "orchestrator")
    .compile(name="orchestrator")
)
The following are some of the important components of the orchestrator agent.
Registering Agents
In the above code, we have created an AGENT_REGISTRY dictionary where each agent has a name, description, and the graph object. In our case, we only have the web_search_agent.
This leads us to create a global agent_description that contains the agent details in a stringified format. And we feed all of this to the orchestrator agent via the system_prompt. This answers our first question from above regarding how the orchestrator agent knows which other agents it has access to.
The Message State
Similar to the worker agent, the orchestrator has its own state. Now, this is an important distinction in a multi-agent system where each agent has its own memory. The only shareable state is the passage of information (or result) from one agent to another. They do not share each other’s entire memory.
Agent Call as a Tool
Coming to the second question regarding calling a registered agent. This simply works as a tool call, just as our worker agent calls the web search tool. Taking a look at the call_registered_agent function, which we have registered as a tool, the agent_name parameter is decided by the orchestrator agent based on the user prompt and its decision when it calls the tool.
If we do not have such an agent in the registry, we raise an error. Otherwise, we use the ainvoke method to call that particular agent graph and return the result to the orchestrator agent.
Conditional Node and Agent Invocation
We have the decide_next_step as a conditional node where the orchestrator has to decide whether it keeps calling the worker agent or returns the current result. And the orchestrate function is our entry node for starting the agent execution process.
If we observe the above carefully, we can discover something genuinely interesting. For the orchestrator agent (or any agent, as a matter of fact), every sub-agent call is simply a tool call. If we can register correctly and provide the context in a manner that is sensible for these agents, these are just Python functions to be called with correct parameters.
Going through the code a few times helps register the workflow better. For now, we will stop the theory here and move on to the execution.
The LangGraph JSON File
Before we start the execution, let’s check the langgraph.json file that stays in the project’s root directory.
{
  "$schema": "https://langgra.ph/schema.json",
  "dependencies": ["."],
  "graphs": {
    "orchestrator": "./src/orchestrator/graph.py:graph",
    "web_search": "./src/web_search/graph.py:graph"
  },
  "env": ".env",
  "image_distro": "wolfi"
}
We register and expose the agents that we create via this JSON file. The graphs key contains the name and paths of all the agents that we have created in the src directory. The keys can have any name and that will appear in the LangGraph Studio when we launch the application.
Executing our Multi-Agent System
Let’s execute the multi-agent system that we just built and see how it works. We can start the local server by executing the following command in the terminal in the project’s root directory.
langgraph dev
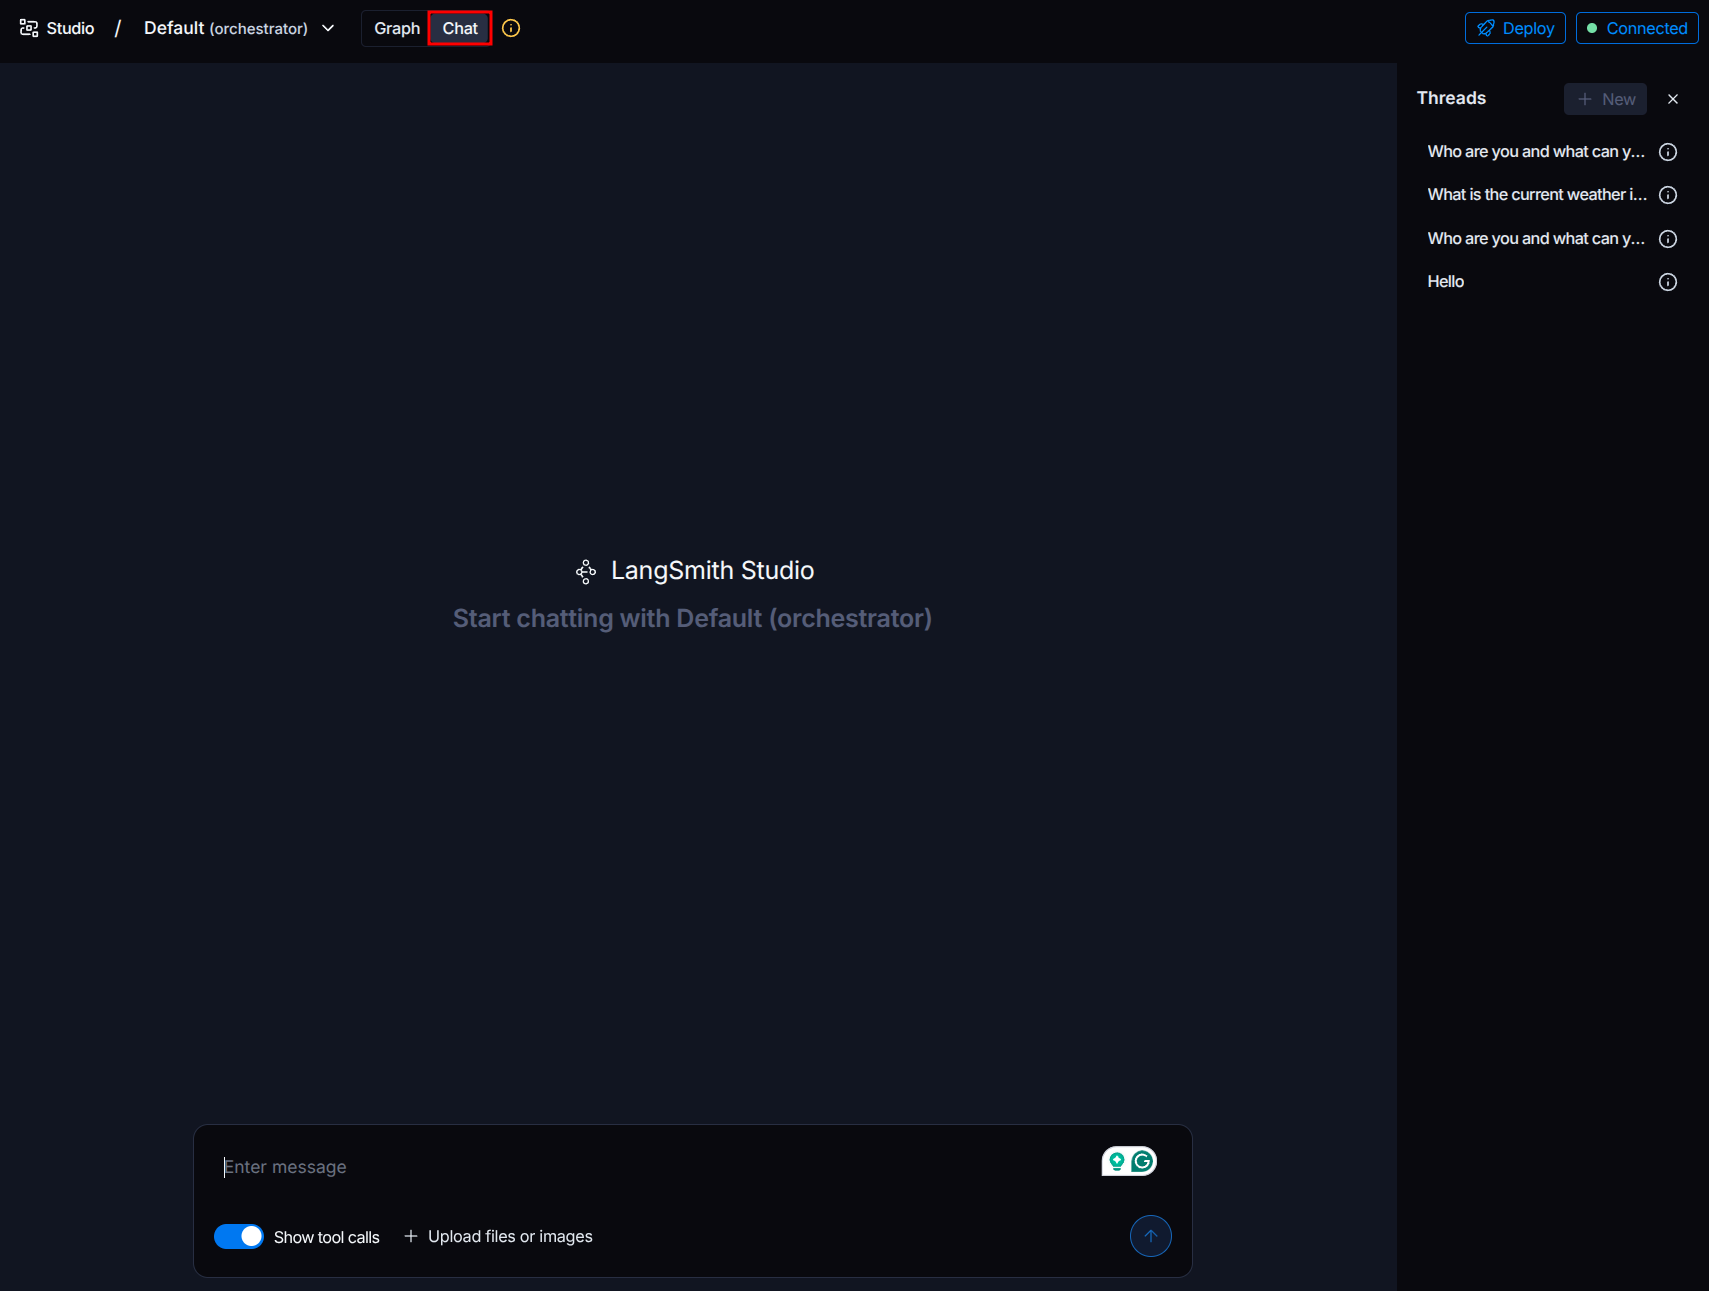
It should open a new URL in your default web browser. Click on the Chat tab at the top to move to a general chat view, just like we have for any chatbot application nowadays. This is a great playground to test our agents out.
The following video shows the entire workflow of the agentic process.
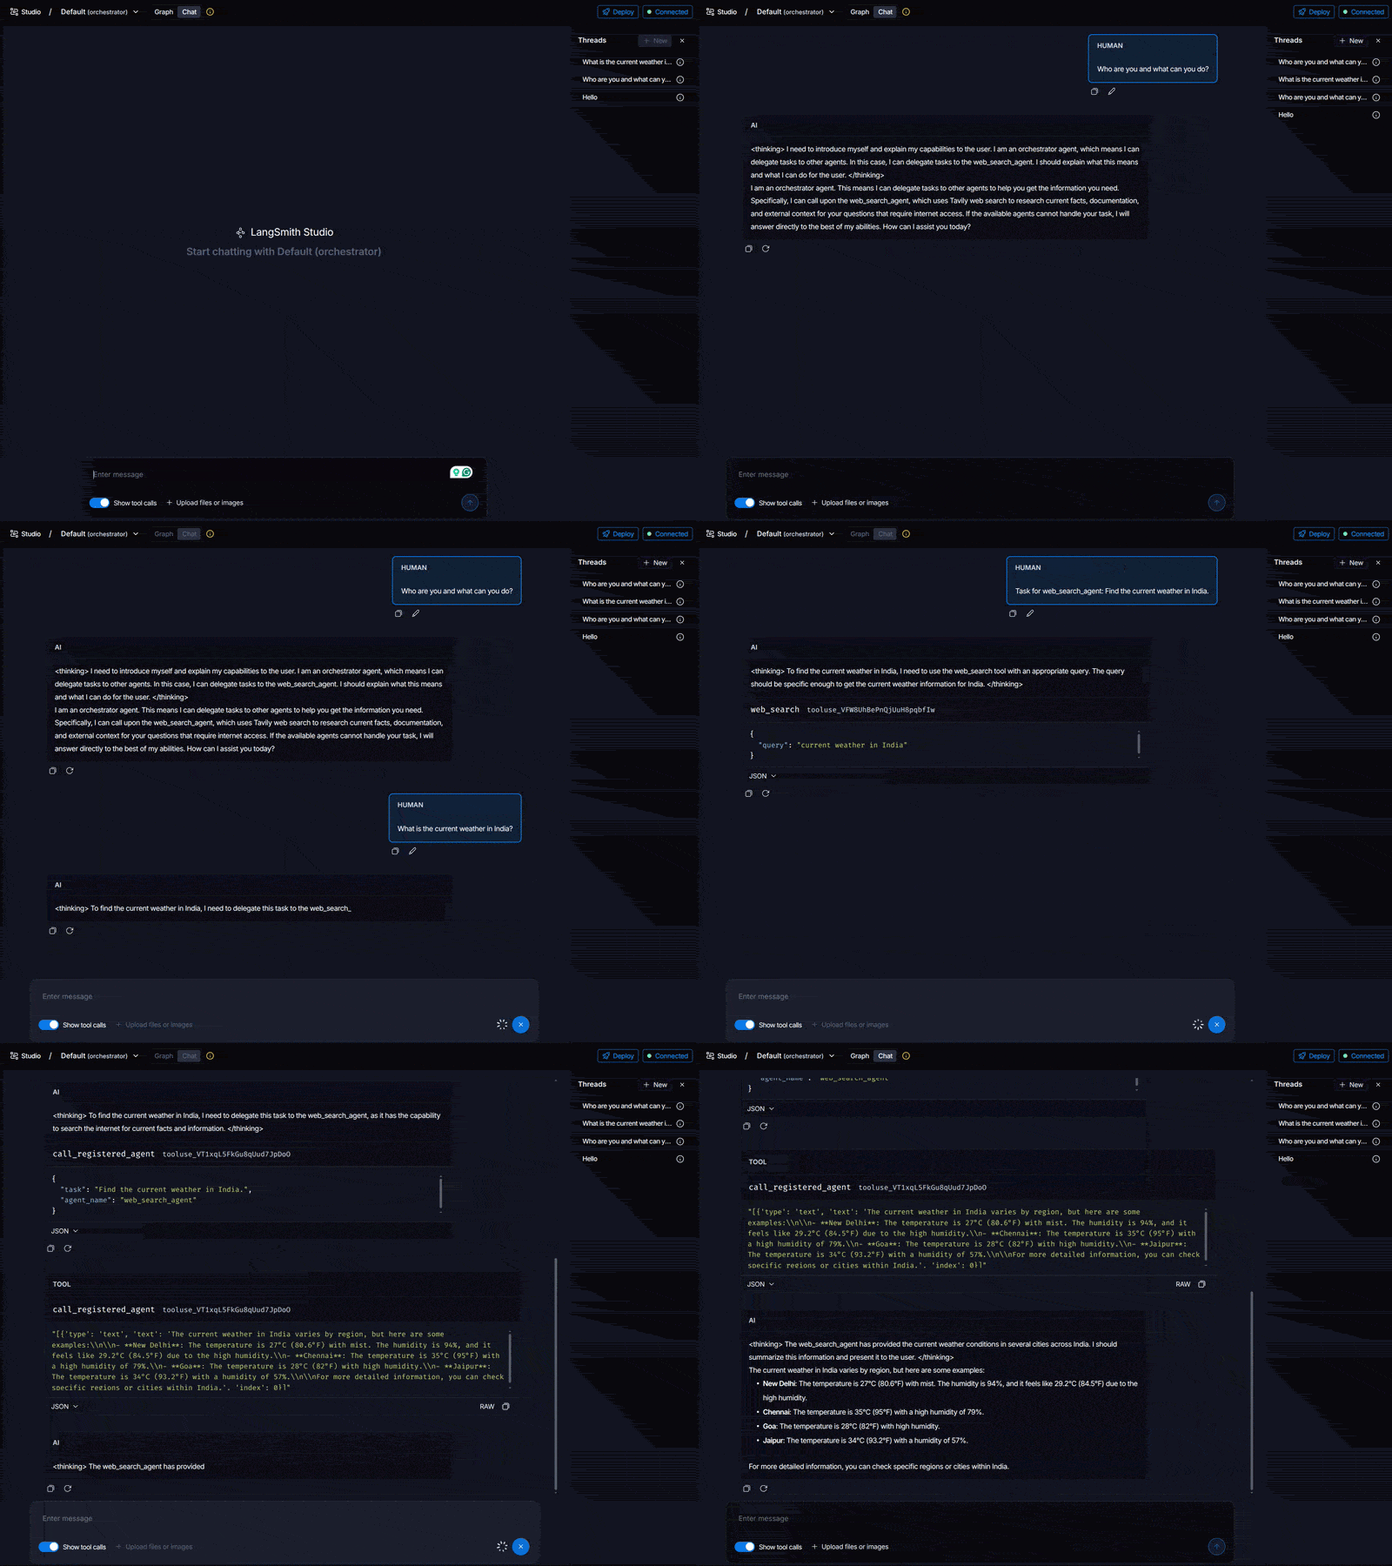
We start the chat in a simple manner where we ask the orchestrator agent about its capabilities, to which it answers the tools and other agents it has access to. Then we ask it about the current weather, and it delegates the task to the web search (worker) agent. The worker agent makes the tool call, fetches the answer, and hands it back to the orchestrator agent. The final question is finding out about all the recent LLMs that have been released, and the entire multi-agent system executed successfully as well.
Further Improvements
The above is a very simple workflow showcasing that our orchestrator-worker agent via LangGraph and Bedrock is working successfully. We can do much more in the future:
- Handling fail states and retries
- Connecting more tools for better user experience: RAG tool, external databases, file readers, and file writers
- Trying out how smaller local LLMs work for similar multi-agent tasks
We will surely try to accomplish the above in future articles.
Summary and Conclusion
In this article, we created a simple orchestrator-worker multi-agent workflow using LangGraph and Amazon Bedrock. We started with the setup steps, moved to the agent descriptions, tool handling, agent registration, and finally executed the entire workflow. We also discussed what could some of the future steps to improve the entire project. I hope that this article was worth your time.
If you have any questions, thoughts, or suggestions, please leave them in the comment section. I will surely address them.
You can contact me using the Contact section. You can also find me on LinkedIn, and X.