
Beginners often face difficulties when getting started with Deep Learning, even if they have some prior experience in Machine Learning. Setting up the environment is yet another pain point when starting deep learning. In this article, you are going to learn how to seamlessly set up your machine for Deep Learning with python.
Although this setup is using Windows 10, Linux and Mac OS users should also be able to follow along, only with minor changes while downloading the Python Installer. I will try to provide the links to guides wherever possible.
Overview
Install Python
Install Anaconda
Setup Python Environment
Install TensorFlow
Install Keras
Note: If you are new to my blog, then I have a previous article for setting up a Python environment for Data Science. Do consider checking it out, as it covers some really important installations. This article will specifically cover setup for Deep Learning.
Also, if you have already followed my previous article, then you can easily skip the first three steps.
Install Python
Python and R are the two most widely used programming languages for Machine Learning and Deep Learning. But the huge availability of packages is what makes Python a truly powerful language.
In this article, we are going to focus on Python language installation. Head over to their official website and download the latest version available. And if you are on Mac OS, then see this list of packages and choose accordingly.
Alternatively, if you have a Linux environment, then see this guide. It will help a lot.
After downloading the installer, double click it to install. The steps are quite straightforward. Also, you can check 'Add Python option as it will automatically add the python interpreter to the system path.
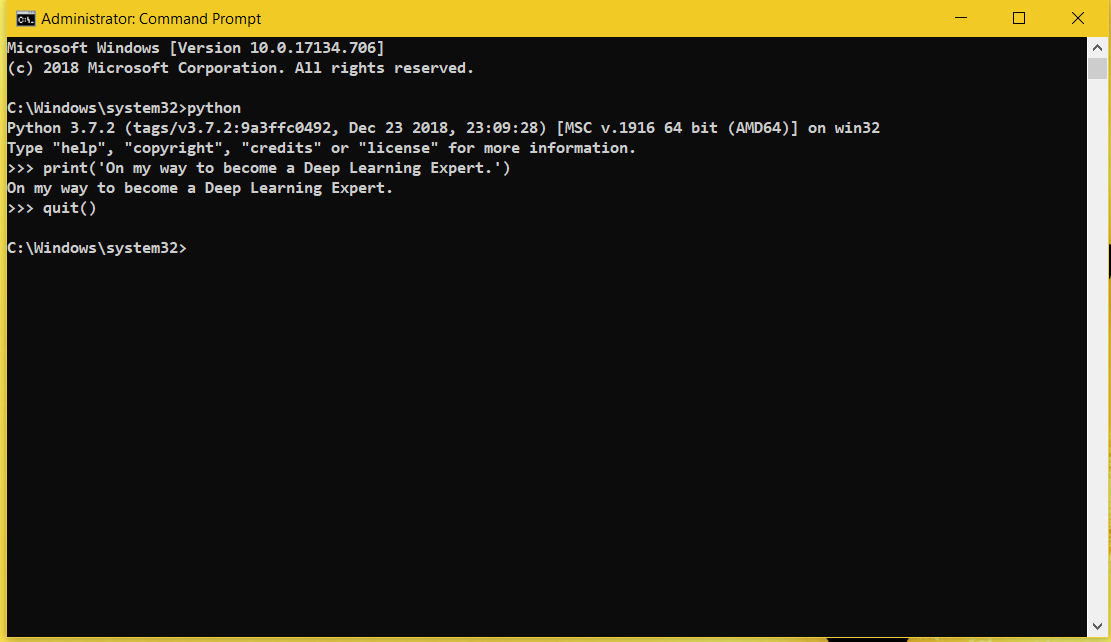
To check everything has been installed correctly, open your command prompt and type python. You should see the python version and the interpreter should fire up as well. Go on and type a simple python command.
Install Anaconda
Anaconda is a great distribution for machine learning. It will help us create our own environments, manage and install all the required packages with much ease.
Anaconda distribution is available for Windows, macOs and Linux.
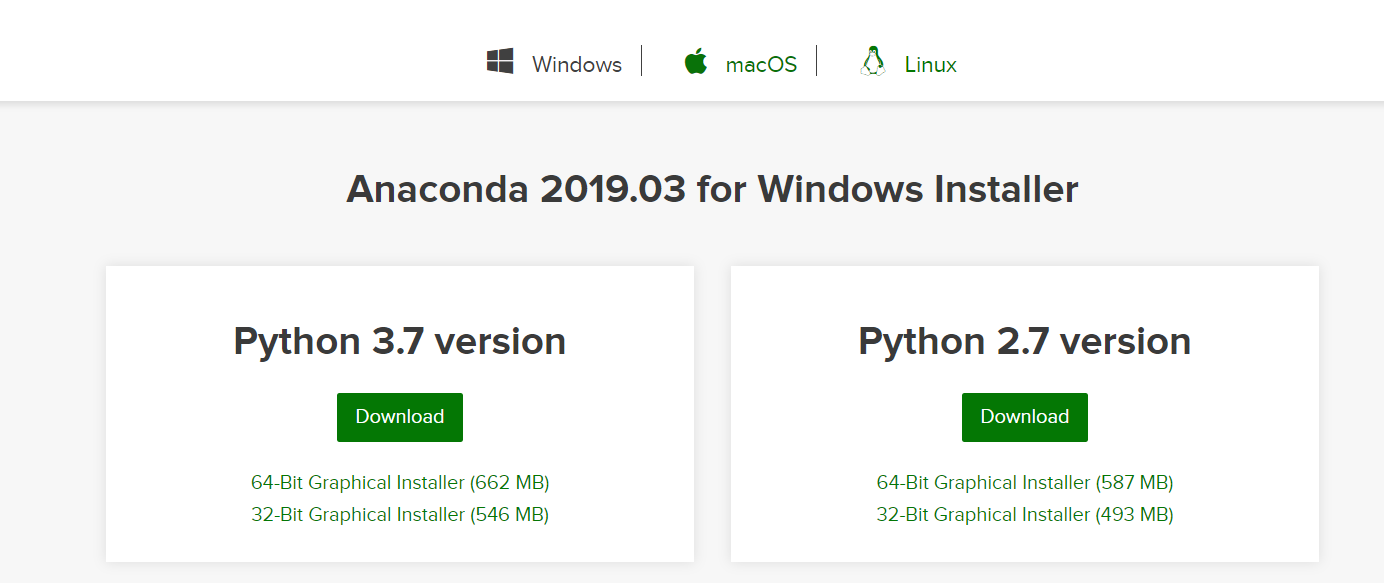
Click here to go to the Distribution page. Download the installer as per the latest python version and just follow the instructions while installing. The steps are pretty easy to follow while installing it.
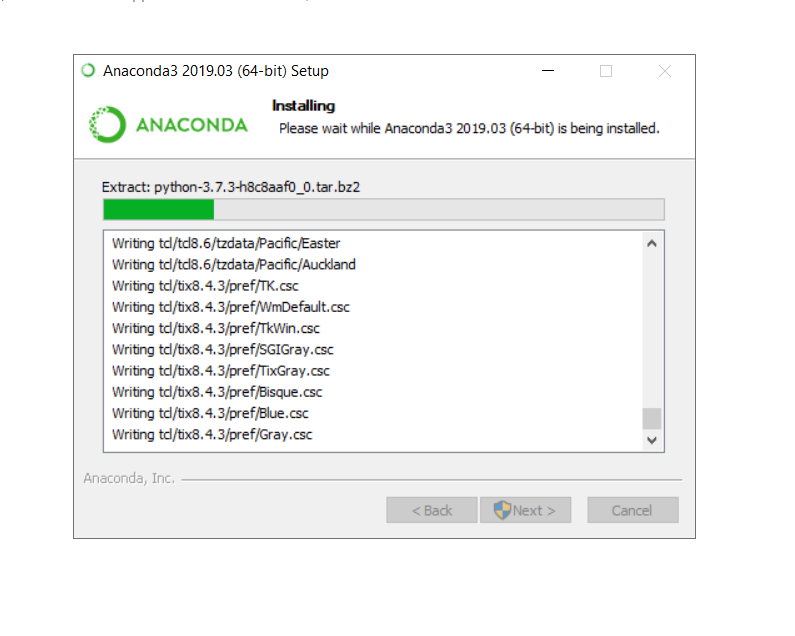
It may take a few minutes to finish installing the package. Once done, we can move on to the next step. We will be creating a python environment and using the conda command to intall the further required packages.
Setup Python Environment
You will use this python environment specifically for deep learning and to install whatever packages are required. It is always good to have such a separate environment to remove the hassle of version collisions which may happen when managing multiple packages during multiple projects.
Fire up your freshly installed anaconda prompt. Next, follow along with the commands:
conda create -n deeplearning python=3 anaconda
Here, deeplearning is the user given environment name. You can give any name you want. It will ask you to install a number of packages. Just press ‘y‘ to install them. It is one of the benefits as it installs so many packages by default.
The environments are created inside Anaconda3/envs/, where Anaconda3 is the installation folder.
Next, to see the list of the environments created, type:
conda env list
You should see one base environment and the deeplearning environment that you just created. To activate the created environment, type:
conda activate deeplearning
Now to deactivate the environment:
conda deactivate
Install TensorFlow
Now, let’s move forward to install the one of the most popular and widely used deep learning library, TensorFlow.
We will use the conda package manager to install TensorFlow. First activate your environment by typing:
conda activate deeplearning
Then type:
conda install tensorflow
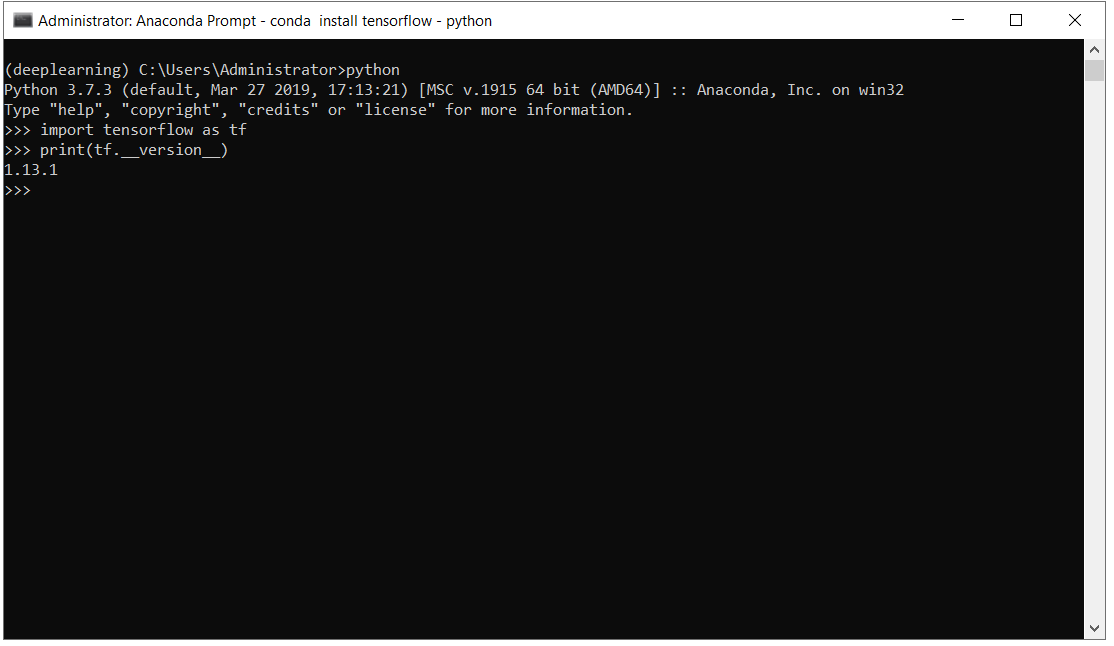
Agree to whatever packages it asks to install. Now, to check everything has gone correctly, activate the python shell by typing python, then type the following commands:
import tensorflow as tf
print(tf.__version__)
It should print the installed version of TensorFlow.
Note:Install the GPU version of TensorFlow only if you have an Nvidia GPU. I have seen some cases where import errors occur when GPU version is installed but the computer does not have Nvidia GPU.
Additionally, if you want to use your GPU while doing TensorFlow computations and Deep Learning, then you should seriously consider installing the GPU supported TensorFlow.
conda install tensorflow-gpu
The above command installs the CUDA toolkit as well. So, we do not need to install it separately.
Install Keras
Keras is a high-level API for running on top of libraries like TensorFlow, Theano and CNTK.
Keras is just perfect for getting started with deep learning. It is easy to use and you will get a hang of it once you do a few small projects with it.
Let’s install it now:
conda install keras
That’s it. You are all set to start your deep learning journey.
Conclusion
I have tried to keep this article as comprehensive as possible. If you face any problems, then feel free to share them in the comment section. If this article helped you, then share, like and subscribe to the newsletter. You can follow me on Twitter and Facebook to get regular updates. Also, you can check out my LinkedIn profile.

1 thought on “Python Environment Setup for Deep Learning”