
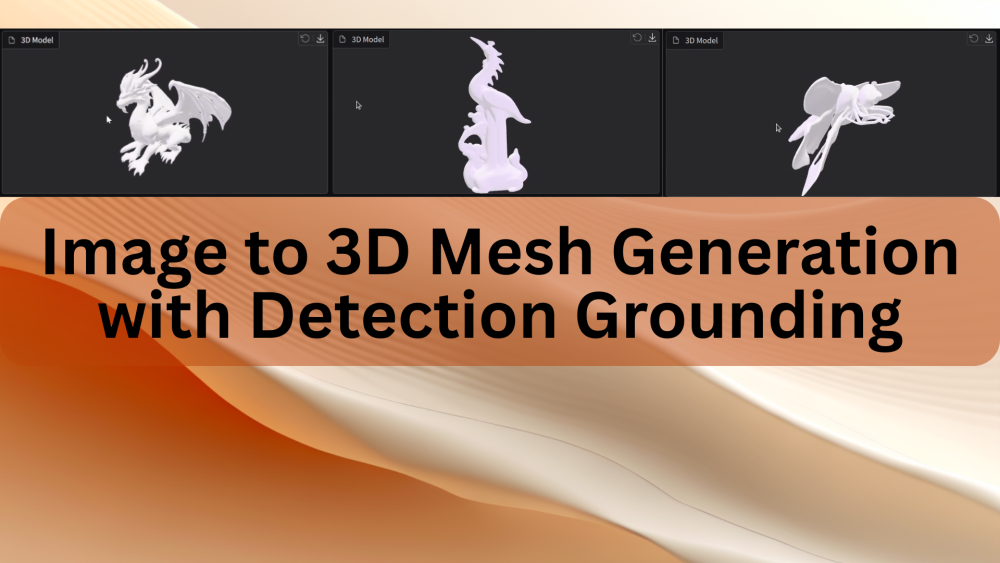
The Image-to-3D space is rapidly evolving. With multiple models being released every month, the pipelines are getting more mature and simpler. However, creating a polished and reliable pipeline is not as straightforward as it may seem. Simply feeding an image and expecting a 3D mesh generation model like Hunyuan3D to generate a perfect 3D shape rarely works. Real world images are messy and cluttered. Without grounding, the model may blend multiple objects that are unnecessary in the final result. In this article, we are going to create a simple yet surprisingly polished pipeline for image to 3D mesh generation with detection grounding.
Our aim is simple. The user can upload either an image with a single object or multiple objects with a text prompt for which to generate the 3D mesh/shape. Our pipeline should work flawlessly in both cases. Our workflow will contain three models:
- Qwen3-VL for visual grounding when multiple objects are present in an image
- BiRefNet for background removal
- And Hunyuan3D 2.0 for 3D shape generation.
We will get into the details of the pipeline further in the article.
What will we cover in image to 3D mesh generation with detection grounding?
- Setting up the local system with PyTorch, Hunyuan 3D, and BiRefNet.
- Brief discussion about the workflow of the entire pipeline.
- Walkthrough of the code for image to 3D mesh generation.
- Discussions for future improvements, VRAM usage consideration, and optimizing the pipeline.
Workflow of Image to 3D Mesh Generation with Detection Grounding
We have a straightforward aim here. To create a simple, clean, and robust working pipeline for image to 3D mesh generation.
Platforms like Meshy AI make the process look simple. However, several operations are going on under the hood.
The common workflow typically looks like the following:
- The user uploads a clean, cropped image of the object to generate the 3D shape/mesh.
- A background removal model extracts the subject from the image by removing the background.
- A final RGBA image with a transparent background gets fed to the 3D shape generation model.
Even recreating the above “simple” pipeline is non-trivial. But we are going further. Real-world images are rarely clean or cropped. Why rely on the user to crop an object manually from a large image? We add an additional grounding step. This allows the user to upload any image along with the name of the object that needs to be converted into a 3D mesh from a large image. Furthermore, our application will run entirely locally with less than 10GB of VRAM.
For this, we combine three models here:
- Qwen3-VL for object detection and visual grounding
- BiRefNet for background removal
- Hunyuan3D 2.0 for 3D mesh/shape generation

Our pipeline will adapt according to user input:
- If the user uploads an image with a single object, we apply background removal using BiRefNet. The clean image with an alpha channel goes into the Hunyuan3D 2.0 model for 3D mesh generation.
- If the uploaded image contains multiple objects, the user can type the name of the object in a text box that needs to be converted into a 3D mesh. The image, along with the prompt, goes into the Qwen3-VL model for object detection. We get the coordinates of the object, crop it, pass it to BiRefNet for background removal, and finally feed it to Hunyuan3D 2.0.
Despite using three different models, the entire pipeline is compact – less than 200 lines of code and works surprisingly well.
Some VRAM Considerations
In this setup, we use Qwen3-VL 2B. Running all three models on the GPU typically requires 12.5–15 GB of VRAM.
However, if Qwen3-VL 2B is running on the CPU, the GPU requirement drops to 8–10 GB, making the pipeline usable on GPUs with 10 GB VRAM or less.
There are two practical configurations:
- Ubuntu / Linux:
If your GPU has less than or equal to 10 GB VRAM, you must run Qwen3-VL 2B on the CPU. The remaining two models (BiRefNet + Hunyuan3D) will fit on the GPU. - Windows:
You can keep all three models on the GPU even with 10 GB VRAM, because Windows + Transformers will automatically offload excess model weights to system RAM. This makes the pipeline more flexible on Windows machines with limited VRAM.
Project Directory Structure
Let’s take a look at the project directory structure.
.
|-- BiRefNet
|   |-- __pycache__
|   |-- evaluation
|   |-- models
|   |-- tutorials
|   |-- LICENSE
|   |-- README.md
|   |-- __init__.py
|   |-- config.py
|   |-- dataset.py
|   |-- eval_existingOnes.py
|   |-- gen_best_ep.py
|   |-- image_proc.py
|   |-- inference.py
|   |-- loss.py
|   |-- make_a_copy.sh
|   |-- requirements.txt
|   |-- rm_cache.sh
|   |-- sub.sh
|   |-- test.sh
|   |-- train.py
|   |-- train.sh
|   |-- train_test.sh
|   `-- utils.py
|-- birefnet_weights
|   `-- BiRefNet-general-epoch_244.pth
|-- input
|   |-- image_1.jpg
|   |-- image_2.jpg
|   |-- image_3.jpg
|   |-- image_4.jpg
|   `-- image_5.jpg
|-- outputs
|   `-- image_5_mesh.glb
`-- image_to_mesh.py
- We have the cloned
BiRefNetdirectory and the pretrained weights insidebirefnet_weight. - The
inputandoutputsdirectories contain the images that we can use for running experiments and the corresponding results. - The parent project directory contains the runnable
image_to_mesh.pyfile that contains all the code.
All the input images and the runnable script will be provided as a zip file. To execute the code, please follow the setup instructions below.
Download Code
Setting Up the Local System for Image to 3D Mesh Generation
First, we need to install PyTorch 2.8.
pip install torch==2.8.0 torchvision==0.23.0 torchaudio==2.8.0 --index-url https://download.pytorch.org/whl/cu129
Second, we need to clone the Hunyuan3D 2.0 repository and install the requirements, and also as a module. This repository can be cloned into any directory of choice.
git clone https://github.com/Tencent-Hunyuan/Hunyuan3D-2.git
cd Hunyuan3D-2

pip install -r requirements.txt
pip install -e .
Third, after downloading and extracting the zipped codebase provided, we need to set up BiRefNet directly inside the project directory. Execute the following commands inside the project directory.
git clone https://github.com/ZhengPeng7/BiRefNet.git

cd BiRefNet

pip install -r requirements.txt
Lastly, create a birefnet_weights directory and download and place the official weights inside that.
You can download the BiRefNet weights from here.
This completes all the setup that we need.
Code Explanation for Image to 3D Mesh
Let’s jump into the code explanation for our application without any further delay.
All the code that we want is inside the image_to_mesh.py file.
Imports and Setting Paths
We will start with importing all the required libraries and setting the necessary paths & seed.
import sys

sys.path.append('BiRefNet')

from image_proc import refine_foreground
from models.birefnet import BiRefNet
from utils import check_state_dict

import torch
import ast
import os
import cv2
import gradio as gr

from transformers import Qwen3VLForConditionalGeneration, AutoProcessor
from hy3dgen.shapegen import Hunyuan3DDiTFlowMatchingPipeline
from PIL import Image
from torchvision import transforms

device = 'cuda' if torch.cuda.is_available() else 'cpu'

outdir = 'outputs'
os.makedirs(outdir, exist_ok=True)

num_inference_steps = 50
seed = 42
Here are some of the important pointers to keep in mind:
- We append the cloned BiRefNet path to the Python path so that we can import the modules inside it. These include the
refine_foregroundmethod, theBiRefNetclass, and theutilsmodule. - We import
Qwen3VLForConditionalGenerationandAutoProcessorfor loading the Qwen3-VL model. - The
Hunyuan3DDiTFlowMatchingPipelineclass is for loading the Hunyuan3D 2.0 model.
We also set the computation device, create an output directory, set the number of inference steps for 3D shape generation, and set the seed.
Loading the Models
The following code block loads all three models, i.e., Qwen3-VL 2B, Hunyuan3D 2.0, and the BiRefNet model.
# Load Qwen3-VL.
model_id = 'Qwen/Qwen3-VL-2B-Instruct'
qwen_model = Qwen3VLForConditionalGeneration.from_pretrained(
    model_id,
    dtype=torch.bfloat16,
    # attn_implementation='flash_attention_2',
    # device_map=device
    device_map='cpu'
)
qwen_processor = AutoProcessor.from_pretrained(model_id)

# Load the Hunyuan3D model.
pipeline_shape = Hunyuan3DDiTFlowMatchingPipeline.from_pretrained(
    'tencent/Hunyuan3D-2mini',
    subfolder='hunyuan3d-dit-v2-mini',
    use_safetensors=True,
    device='cuda'
)

# Load the BiRefNet model.
model_name = 'BiRefNet'
birefnet = BiRefNet(bb_pretrained=False)
state_dict = torch.load(
    'birefnet_weights/BiRefNet-general-epoch_244.pth',
    map_location=device
    # map_location='cpu'
)
state_dict = check_state_dict(state_dict)
birefnet.load_state_dict(state_dict)
# Load Model.
torch.set_float32_matmul_precision(['high', 'highest'][0])
birefnet.to(device)
birefnet.eval()
print('BiRefNet is ready to use.')
birefnet.half()

# BiRefNet image transforms.
transform_image = transforms.Compose([
    transforms.Resize((1024, 1024) if '_HR' not in model_name else (2048, 2048)),
    transforms.ToTensor(),
    transforms.Normalize([0.485, 0.456, 0.406], [0.229, 0.224, 0.225])
])
As I was experimenting with a 10GB RTX 3080 GPU, in the above code, Qwen3-VL loads on the CPU. The other two models are loaded onto the GPU. With this setup, the VRAM requirement is between 8-10GB.
Furthermore, we are also defining the image transforms for BiRefNet. In our pipeline, we resize the images to a 1024×1024 resolution as we are not using the High-Resolution model here to save VRAM.
Function for Object Detection using Qwen3-VL
As we have discussed earlier, whenever the user provides a prompt with the image, the image will pass through the Qwen3-VL pipeline for object detection. The following function handles that.
def qwen_object_boxes(model, processor, image_path, prompt):
    """Use Qwen3-VL to generate bounding boxes for natural-language prompts."""
    messages = [{
        'role': 'user',
        'content': [
            {'type': 'image', 'image': image_path},
            {'type': 'text', 'text': prompt},
        ],
    }]

    inputs = processor.apply_chat_template(
        messages,
        tokenize=True,
        add_generation_prompt=True,
        return_dict=True,
        return_tensors='pt'
    ).to(model.device)

    generated = model.generate(**inputs, max_new_tokens=4096)
    trimmed = [out[len(inp):] for inp, out in zip(inputs.input_ids, generated)]
    decoded = processor.batch_decode(trimmed, skip_special_tokens=True)[0]

    # Parse Qwen output.
    json_str = decoded[8:-3] if decoded.startswith('```json') else decoded
    detections = ast.literal_eval(json_str)
    return detections
This approach generates better 3D shapes as Qwen3-VL helps in detection grounding via a natural language prompt. In short, when there are multiple objects in an image, we can tell the pipeline which object to detect, crop, and generate a 3D shape for.
The next code block is another helper function to crop the detected object areas.
def crop_dets(image_path, detections):
    """
    Crop the detection area of objects.
    """
    image_bgr = cv2.imread(image_path)
    image_rgb = cv2.cvtColor(image_bgr, cv2.COLOR_BGR2RGB)
    h, w, _ = image_bgr.shape

    print(f"Detections: {detections}")

    # Prepare bboxes in pixel coordinates (xyxy format).
    bboxes = []
    for det in detections:
        box = det['bbox_2d']
        x1 = int(box[0] / 1000 * w)
        y1 = int(box[1] / 1000 * h)
        x2 = int(box[2] / 1000 * w)
        y2 = int(box[3] / 1000 * h)
        bboxes.append([x1, y1, x2, y2])

        crop = image_rgb[y1:y2, x1:x2]

    # Return RGB image.
    return crop[..., ::-1]
We provide the image path and detections as a list. One important point to note here: Although the code can handle cropping multiple object areas, at the moment, our current pipeline expects the user to pass only one object name to detect and generate the 3D mesh for. This is one of the limitations that we will be handling later.
Suppose we upload an image (the following) and give the prompt as “the dragonfly”, then the image and prompt will pass through the Qwen3-VL model and the above function to give the following result.

Function to Remove Background
Next, we have the function to remove the background from any given image using BiRefNet.
def remove_bg(image_path):
    """Feed image to BiRefNet for background removal."""
    image = Image.open(image_path)
    input_images = transform_image(image).unsqueeze(0).to(device)
    input_images = input_images.half()
    # Prediction
    with torch.no_grad():
        preds = birefnet(input_images)[-1].sigmoid().cpu()
    pred = preds[0].squeeze()
    pred_pil = transforms.ToPILImage()(pred)
    pred_pil = pred_pil.resize(image.size)
    image_masked = refine_foreground(image, pred_pil)
    image_masked.putalpha(pred_pil)

    return image_masked
The function accepts an image path, which can either be the path to the original or the cropped image. It pre-processes the input, applies the forward pass, puts the alpha channel into the resulting image, and returns it.
The following is an example of the original input and the result when an image passes through the above function.

Main Function for Image to 3D Mesh Generation
We have the final image_to_3d function that combines everything that we carried out above.
def image_to_3d(text, image_path):
    global pipeline_shape

    cropped_image = None
    detections = None

    # Detect and crop object(s) if user provides prompt.
    if len(text) > 0:
        prompt = f"Locate every instance that belongs to the following categories: {text}. Report bbox coordinates in JSON format."

        # Qwen3-VL gets boxes.
        detections = qwen_object_boxes(qwen_model, qwen_processor, image_path, prompt)
        print(f"Qwen3-VL detections: {len(detections)} objects")

        cropped_image = crop_dets(image_path, detections)

        cv2.imwrite('cropped_image.png', cropped_image)

        image_masked = remove_bg('cropped_image.png')
        image_masked.save('removed_bg.png')

    if cropped_image is not None: # Feed cropped image if user provides object prompt.
        mesh = pipeline_shape(
            image='removed_bg.png',
            num_inference_steps=num_inference_steps,
            generator=torch.manual_seed(seed)
        )[0]
    # Else pass the original image via BiRefBet,
    else:
        image_masked = remove_bg(image_path)
        image_masked.save('removed_bg.png')
        mesh = pipeline_shape(
            image='removed_bg.png',
            num_inference_steps=num_inference_steps,
            generator=torch.manual_seed(seed)
        )[0]

    image_name = image_path.split(os.path.sep)[-1].split('.')[0]
    save_path = os.path.join(outdir, image_name+'_mesh.glb')
    mesh.export(save_path)

    return save_path
Our pipeline is quite straightforward:
- If the user provides an object name in the text box, then we create a prompt for object detection and pass it along with the image to the Qwen3-VL model. It returns the cropped image that we pass through BiRefNet for background removal. We save the resulting image to disk and feed the path to the Hunyaun3D model for 3D mesh generation.
- If the user does not provide a text prompt, we pass the image directly through BiRefNet and pass the result image path through the Hunyuan3D model.
We save the results in the outputs directory and return the generated mesh path. The 3D mesh is a .glb file that is a standard extension for saving 3D models.
Finally, let’s launch the Gradio application.
gr.Interface(
    fn=image_to_3d,
    outputs=gr.Model3D(
        label='3D Model'
    ),
    inputs=[gr.Text(), gr.Image(type='filepath')]
).launch(share=True)
Here, our output box is a gr.Model3D component for visualizing the 3D mesh model.
Inference Experiments
Let’s carry out some inference experiments. Here are some results.
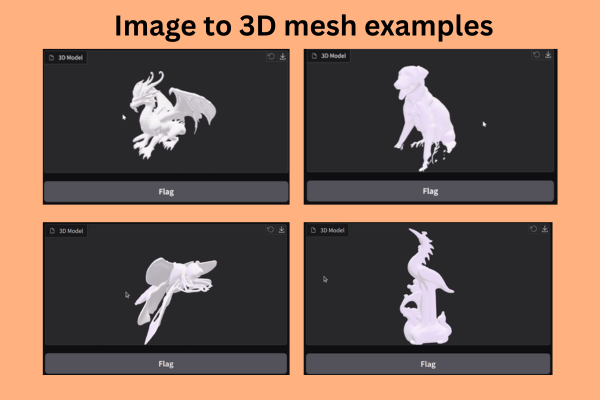
Entire Workflow of Image to 3D Mesh Generation with Detection Grounding
The following video shows the entire process with two different images.
In the above video, first, we upload an image without a text prompt. As there was a single primary object, the BiRefNet model acted on it directly, and the resulting alpha channel image was fed to the Hunyuan3D model for mesh generation. In the second image, there were three objects, and we prompted the pipeline to generate the 3D mesh for the black dog.
Generating 3D Shapes for Objects with Intricate Details
The following video shows the 3D mesh/shape generation for a porcelain structure.
We can see that the process is working really well. The BiRefNet model helps remove the background clutter, which enhances the results.
Comparing 3D Mesh Generation With and Without Detection Grounding
Here are two videos comparing the results for using detection grounding vs. not using detection grounding via Qwen3-VL.
In this case, the BiRefNet model tried to clean up the entire background. However, the small stem in the background remained, which affected the 3D mesh generation of the legs of the dragonfly.
When we pass the prompt to detect and crop the dragonfly only, the BiRefNet model was able to clean the background in a cleaner way. This resulted in a much better generation of the legs of the Dragonfly.
As we can see, even our naive and straightforward pipeline works really well. You can play around with the pipeline and see where it works well and where it fails.
Future Improvements and Enhancements
There are several steps that we can take to make this entire pipeline better.
- We are using the Hunyuan3D 2.0 mini model at the moment. Using the standard model will result in better 3D mesh generation.
- We are not handling the instances where multiple primary objects are present. Next, we should allow the option to generate a 3D mesh for multiple objects in an image.
- Finally, the next logical step will be to allow applying texture to the generated 3D mesh. The Hunyuan3D models have a pipeline for that as well. We will tackle this in the next article.
Summary and Conclusion
In this article, we created a simple pipeline for image to 3D mesh generation with detection grounding using Qwen3-VL, BiRefNet, and Hunyuan3D 2.0 models. We discussed the entire pipeline and code in detail, along with the results. We also covered the strengths and weaknesses of the current approach and how we can improve it further.
If you have any questions, thoughts, or suggestions, please leave them in the comment section. I will surely address them.
You can contact me using the Contact section. You can also find me on LinkedIn, and X.

2 thoughts on “Image to 3D Mesh Generation with Detection Grounding”