

We explored the basics of Qwen3-VL in the last article. It covered some of the theoretical aspects and a few inference examples. It is clear that we can build a lot of interesting applications using Qwen3-VL. To that end, let’s dive deep into one of the use cases in this article. We will create a full-fledged sketch to HTML application with Qwen3-VL.
Instead of going with the Gradio route, we will have a proper backend and frontend, Fast API endpoints, and a user-friendly UI. The above GIF gives an overall sense of how the application looks and works.
We will cover the following components while creating the sketch to HTML application with Qwen3-VL:
- Creating the backend with Transformers, Qwen3-VL, and FastAPI-powered endpoints.
- A simple
index.htmlfile containing all the CSS, HTML, and scripting logic. - A user-friendly UI.
Disclaimer: The backend and Python code were manually written, while the frontend code is generated by AI.
Let’s jump right into the code, as this is a completely practical article. It is going to be a small one as well. You can give the previous article a read if you wish to know more about Qwen3-VL.
Project Directory Structure
Let’s take a look at the project directory structure.
.
├── input  [9 entries exceeds filelimit, not opening dir]
├── outputs
│   └── out.html
├── src
│   ├── backend
│   │   ├── main.py
│   │   └── requirements.txt
│   └── frontned
│       └── index.html
└── requirements.txt
- The
inputdirectory contains the images (sketches/digital images) that we can upload to the app to convert to HTML. - The
outputsfolder can contain the HTML files when we export the file. - We have two subdirectories,
backendandfrontendin thesrcdirectory. They contain the FastAPI server file and the HTML file containing the frontend logic.
All files and folders are provided as a zip file for download.
Download Code
Installing Dependencies
Install all the requirements.
pip install -r requirements.txt
With this, we are done with the setup. Let’s move into the coding part.
Sketch to HTML Application with Qwen3-VL
For this application, we are going to use the recently released Qwen3-VL 2B model. This can run in full precision with Flash Attention in under 6GB VRAM.
We will not dive too deep into the FastAPI concepts. Rather, we will focus on what’s necessary in terms of the deep learning part needed.
The main.py Backend Script
We will first tackle the main.py script in the src/backend directory.
The following code block contains the imports, loading the model for the lifespan of the application, and handling CORS.
from fastapi import FastAPI, UploadFile, File
from fastapi.middleware.cors import CORSMiddleware
from transformers import Qwen3VLForConditionalGeneration, AutoProcessor
from io import BytesIO
from PIL import Image
from contextlib import asynccontextmanager

import torch
import re

# Model setup.
model = None
processor = None

@asynccontextmanager
async def lifespan(app:FastAPI):
    # Load model when app arts.
    global model, processor
    model = Qwen3VLForConditionalGeneration.from_pretrained(
        'Qwen/Qwen3-VL-2B-Instruct',
        torch_dtype=torch.bfloat16,
        device_map='auto'
    )
    processor = AutoProcessor.from_pretrained('Qwen/Qwen3-VL-2B-Instruct')
    yield

app = FastAPI(lifespan=lifespan)

# Enable CORS for frontend communication.
app.add_middleware(
    CORSMiddleware,
    allow_origins=['*'],
    allow_methods=['*'],
    allow_headers=['*'],
)
The @asynccontextmanager executes the function when the application starts. So, we load the application upon the main script execution to reduce any delay in the very first response. This is similar to warm-starting the model.
Further, CORS (Cross-Origin Resource Sharing) is enabled to allow the frontend to communicate securely with the FastAPI backend. By setting allow_origins=['*'], the API accepts requests from any domain. This is useful during development.
The next code block has the logic to extract the HTML code from the model response and the endpoint to convert screenshots to HTML code.
# Logic to extract HTML code from the entire model output.
def extract_last_code_block(text):
    """Extract the last named markdown code block from the text"""
    code_blocks = re.findall(r'```(?:python|html)(.*?)```', text, re.DOTALL)
    if code_blocks:
        return code_blocks[-1].strip()
    return None

@app.post('/convert')
async def convert_screenshot(file: UploadFile = File(...)):
    try:
        print(file)
        # Read uploaded image
        image_bytes = await file.read()

        image_data = Image.open(BytesIO(image_bytes))

        # Prepare message for Qwen3-VL
        messages = [{
            'role': 'user',
            'content': [
                {'type': 'image', 'image': image_data},
                {'type': 'text', 'text': 'Generate clean, modern HTML and CSS code for this user interface. Include all necessary styles inline. Make it responsive and visually accurate. Return ONLY the HTML code without any explanations or markdown.'}
            ]
        }]

        print('Messages done...')

        # Process with model
        inputs = processor.apply_chat_template(
            messages,
            tokenize=True,
            add_generation_prompt=True,
            return_tensors='pt',
            return_dict=True
        )
        inputs = inputs.to(model.device)

        # Decode output
        generated_ids = model.generate(**inputs, max_new_tokens=3072)
        generated_ids_trimmed = [
            out_ids[len(in_ids) :] for in_ids, out_ids in zip(inputs.input_ids, generated_ids)
        ]
        output_text = processor.batch_decode(
            generated_ids_trimmed, skip_special_tokens=True, clean_up_tokenization_spaces=False
        )
        html_code = extract_last_code_block(output_text[0])
        return {'code': html_code, 'status': 'success'}

    except Exception as e:
        return {'error': str(e), 'status': 'error'}

if __name__ == '__main__':
    import uvicorn

    uvicorn.run(app, host='0.0.0.0', port=8000)
The extract_last_code_block removes extra text other than anything enclosed within the HTML tag.
The /convert endpoint accepts a file upload, where we first convert the image bytes into PIL Image format. This is accepted by the model along with a proper user message. Upon successful conversion, we return a dictionary with the HTML code and a success status to the frontend code. Otherwise, we return the corresponding exception.
The main block runs the server on port 8000.
The Frontend Script
The frontend script is present in the src/frontend/index.html file. It contains the HTML code, the CSS, and the JavaScript logic, all within one file. This was entirely AI-written with minor touch-up to change a few CSS.
Covering the frontend code is out of scope for this article. If you wish to explore it, please go through it once.
Testing Our Sketch to HTML Application
Let’s test out sketch to image application. We will use a few theme images from WordPress to test our model and workflow.
To start the backend server, execute the following in the src/backend directory.
python main.py
This will start the FastAPI server and load the model.
Execute the following within the src/backend directory to start a Python server.
python -m http.server 3000
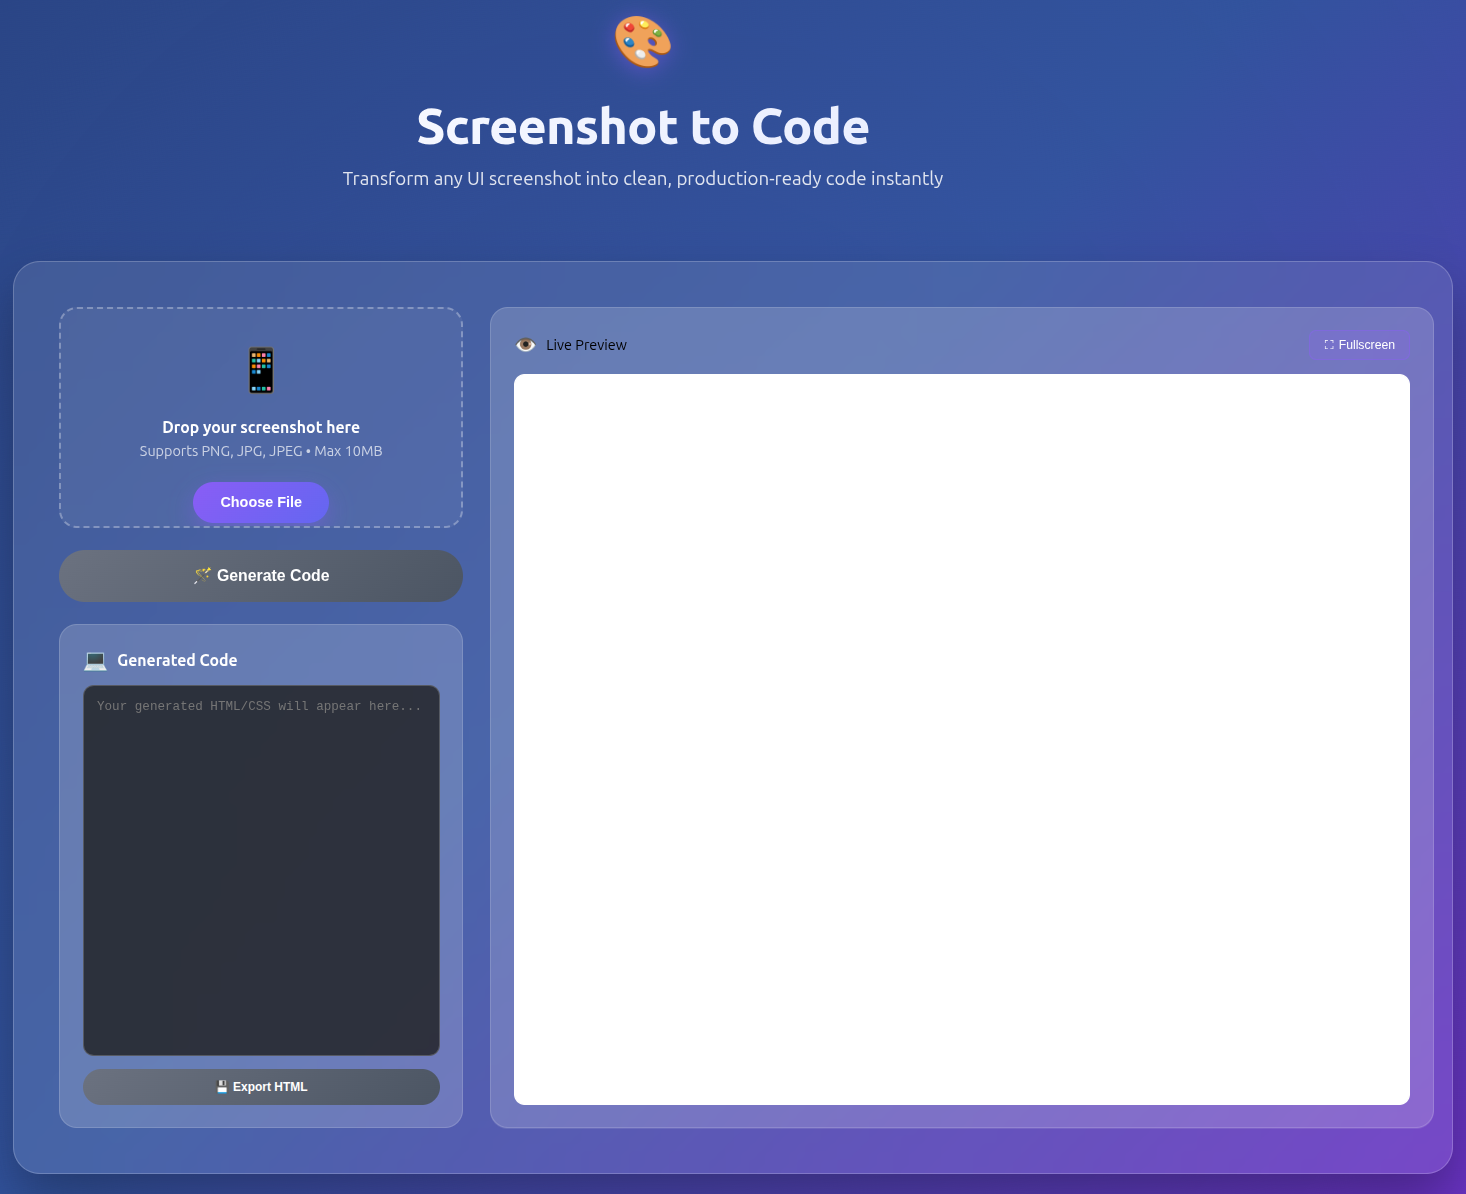
Navigate to the http://0.0.0.0:3000/ address in the browser. This will load our application’s UI.
The following image shows the UI in its initial state.
The video below shows the end-to-end workflow.
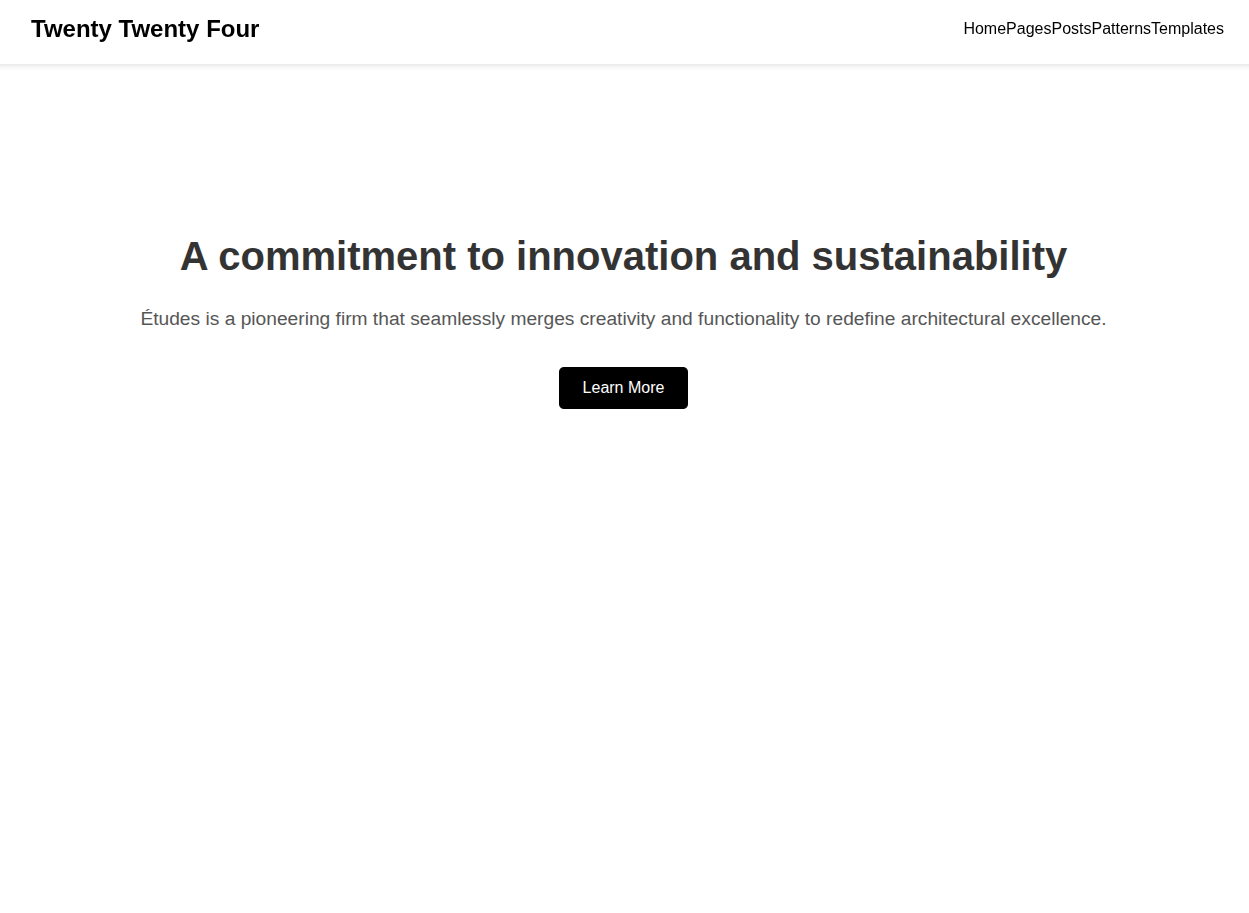
It will take a moment for the model to generate the HTML code. This primarily depends on the size of the mode and the hardware being used. As we are using the Qwen3-VL 2B model, it is faster. We can also export the HTML code and save it locally.
As we can see, the result is not perfect. However, using a larger model will give better results.
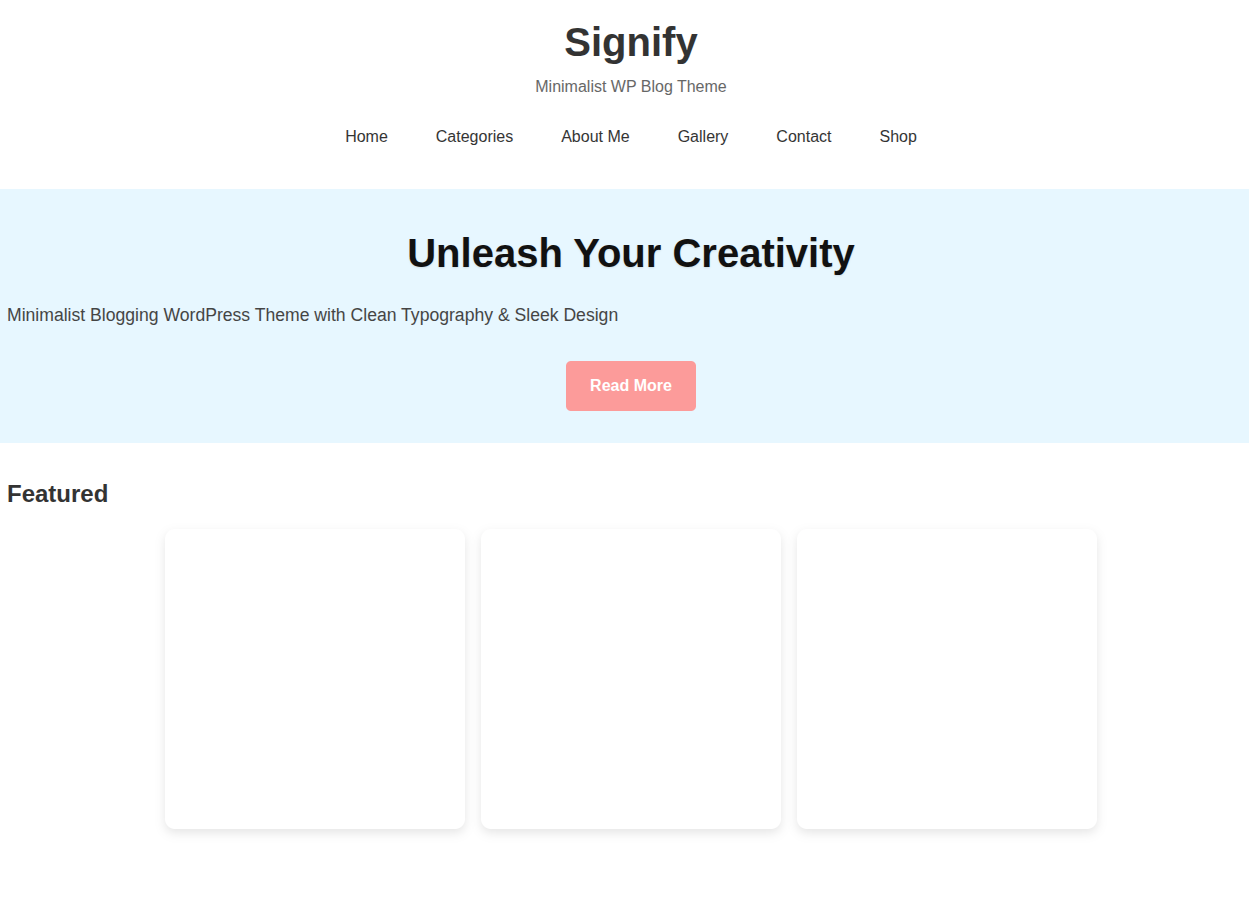
Here are a few more results for the other theme image. You can check the image theme files within the input directory to compare the results.
For theme file input/theme_2.jpg:
For theme file input/theme_3.jpg:
Key Takeaways
- We can see that the created HTML code is pretty basic. It is the smallest model, and using a larger one will clearly give better results.
- Furthermore, the application is incomplete. The application cannot generate images, and we do not handle them at the moment either.
- To complete the application, we need to:
- Have another post-processing step to add images to the final HTML code. We need to add logic to extract the figures from the mock-up images.
- Add chat and history sessions for user prompting and steering the model in the right direction.
- Deploy the application.
Summary and Conclusion
In this article, we created a minimalistic proof-of-concept sketch to HTML application using Qwen3-VL. After analyzing the results, we discussed the drawbacks and how to improve the application. We will try to improve the application further.
If you have any questions, thoughts, or suggestions, please leave them in the comment section. I will surely address them.
You can contact me using the Contact section. You can also find me on LinkedIn, and X.
